[한이음] 스프링 AWS S3 파일 업로드 및 controller 에러 해결
파일 업로드 기능을 구현하려고 했었는데 멘토님이 AWS S3를 사용하시면 된다고 조언을 해주셨다.
오늘은 S3를 이용하여 연결하는 작업만 작성하려고 한다. S3버킷 생성 같은 건 다른 게시물을 참조하시길..
1. 기본설정
- build.gradle
implementation 'org.springframework.cloud:spring-cloud-starter-aws:2.2.6.RELEASE'- application.yml
cloud:
  aws:
    s3:
      bucket: //aws에 생성한 버킷 이름 적기
    credentials:
      access-key: //aws 버킷 access key
      secret-key: //aws 버킷 secret-key
    region:
      static: ap-northeast-2
      auto: false
    stack:
      auto: false
logging:
  level:
    com:
      amazonaws:
        util:
          EC2MetadataUtils: ERROR
+ cloud.aws.stack.auto 속성을 false로 지정하지 않으면 다음과 같은 StackTrace가 발생합니다.
이는 기본적으로 서비스가 Cloud Formation 스택 내에서 실행된다고 가정하기 때문에 그렇지 않은 경우 임의로 false 값으로 설정을 해줘야 된다고 한다.
- spring boot application
적용하고자 하는 모듈 application에 다음과 같이 작성해준다. 나는 bbl-career 모듈에 적용을 원하는 상황이다.
@SpringBootApplication
@EnableJpaAuditing
@EnableFeignClients
public class BblCareerApplication {

	static {
		System.setProperty("com.amazonaws.sdk.disableEc2Metadata", "true");
	}

	public static void main(String[] args) {
		SpringApplication.run(BblCareerApplication.class, args);
	}

}
설정은 끝
이제 본격적으로 스프링과 연동해보겠다.
나는 bbl-career 안에 있는 서비스 중 인사 내역을 업로드할 때
파일 업로드를 통해 그 안에 성적 증명서라든가, 졸업 증명서를 첨부하게끔 만들고 싶다.
인사 내역 = 인사 정보 + 파일
1. FileDto
@Getter
@Setter
@ToString
@NoArgsConstructor
@AllArgsConstructor(access = AccessLevel.PROTECTED)
@Builder
public class FileDto {

  private String id;
  private String name;
  private String format;
  private String path;
  private long bytes;

  @Builder.Default
  private LocalDateTime createdAt = LocalDateTime.now();

  public static FileDto multipartOf(MultipartFile multipartFile) {
    final String fileId = MultipartUtil.createFileId();
    final String format = MultipartUtil.getFormat(multipartFile.getContentType());
    return FileDto.builder()
        .id(fileId)
        .name(multipartFile.getOriginalFilename())
        .format(format)
        .path(MultipartUtil.createPath(fileId, format))
        .bytes(multipartFile.getSize())
        .build();
  }
}
2.Career Controller
원래는 파일 업로드만 하는 컨트롤러를 따로 만들었는데 한 컨트롤러 내에서 처리하고 싶어서 기존의 career controller에 내용을 추가했다.
 @ApiOperation("개인 인사 내역 등록")
  @PostMapping()
  public ResponseFormat createCareer(@RequestBody @Valid CareerDto.CREATE careerDto) {
    careerService.newCareer(careerDto);
    return ResponseFormat.ok();
  }
원래 컨트롤러는 다음과 같았다.
파일 파라미터를 받길 원해서 처음에는 @RequestBody로 DTO를 받고 @RequestPart로 파일을 받으려고 했는데
ontent type 'application/octet-stream' not supported이런 에러가 났고 삽질을 통해 해결했다
방법은 둘 다 @RequestPart 어노테이션을 달아주고 위에 타입을 작성하면 된다.
  @ApiOperation("개인 인사 내역 등록")
  @PostMapping(value = "/create",consumes = {MediaType.APPLICATION_JSON_VALUE, MediaType.MULTIPART_FORM_DATA_VALUE})
  public ResponseFormat createCareer(@RequestPart(value = "createDto") CareerDto.CREATE careerDto,@RequestPart(value = "file")
      MultipartFile multipartFile) {
    careerService.newCareer(careerDto,multipartFile);
    return ResponseFormat.ok();
  }
3. CareerService에서 FileService 호출
 @Override
  //TODO : 예외 처리 세분화
  public void newCareer(CREATE newCareer, MultipartFile multipartFile) {

    //feign client 권한 검사
    try {
      isAvailabe(newCareer.getMemberIdentity());
    } catch (UnauthorizedException e) {
      throw e;
    }
    CareerEntity careerEntity = CareerEntity.of(newCareer);

    try {
      careerRepository.save(careerEntity);
      fileUploadService.save(multipartFile); // 파일 전달
    } catch (DataIntegrityViolationException e) {
      throw new DuplicatedException(DUPLICATED_MEMBERIDENTITY);

    }

  }
기존 로직에 fileUploadService를 주입받고 거기 안에 있는 save 함수를 호출하는 코드를 추가해줬다.
4. File Service
@Service
@RequiredArgsConstructor
public class FileUploadService {
  private final AmazonS3ResourceStorage amazonS3ResourceStorage;

  public FileDetail save(MultipartFile multipartFile) {
    FileDetail fileDetail = FileDetail.multipartOf(multipartFile); //file Dto생성
    amazonS3ResourceStorage.store(fileDetail.getPath(), multipartFile); //레파지토리에 저장
    return fileDetail;
  }
}
DTO로 변환한 뒤 레파지토리에 저장을 한다
5. AmazonS3ResourceStorage
이제 여기서 S3버킷에 저장을 해준다.
@Component
@RequiredArgsConstructor
public class AmazonS3ResourceStorage {

  @Value("${cloud.aws.s3.bucket}") // 버킷 이름 작성
  private String bucket;
  private final AmazonS3Client amazonS3Client;

  public void store(String fullPath, MultipartFile multipartFile) {
    File file = new File(MultipartUtil.getLocalHomeDirectory(), fullPath);
    try {
      multipartFile.transferTo(file);
      amazonS3Client.putObject(new PutObjectRequest(bucket, fullPath, file)
          .withCannedAcl(CannedAccessControlList.PublicRead));
    } catch (Exception e) {
      throw new RuntimeException();
    } finally {
      if (file.exists()) {
        file.delete();
      }
    }
  }
}
여기까지 하면 끝인데!!!
에러
근데 swagger에는 DTO입력창이 계속 안 뜬다

왜...ㅜㅜㅜㅜ
그렇게 swagger는 문제를 해결 못해서 postman으로 테스트해봤다.

중요 - postman에서 content type에 application/json을 명시해줘야 작동한다!
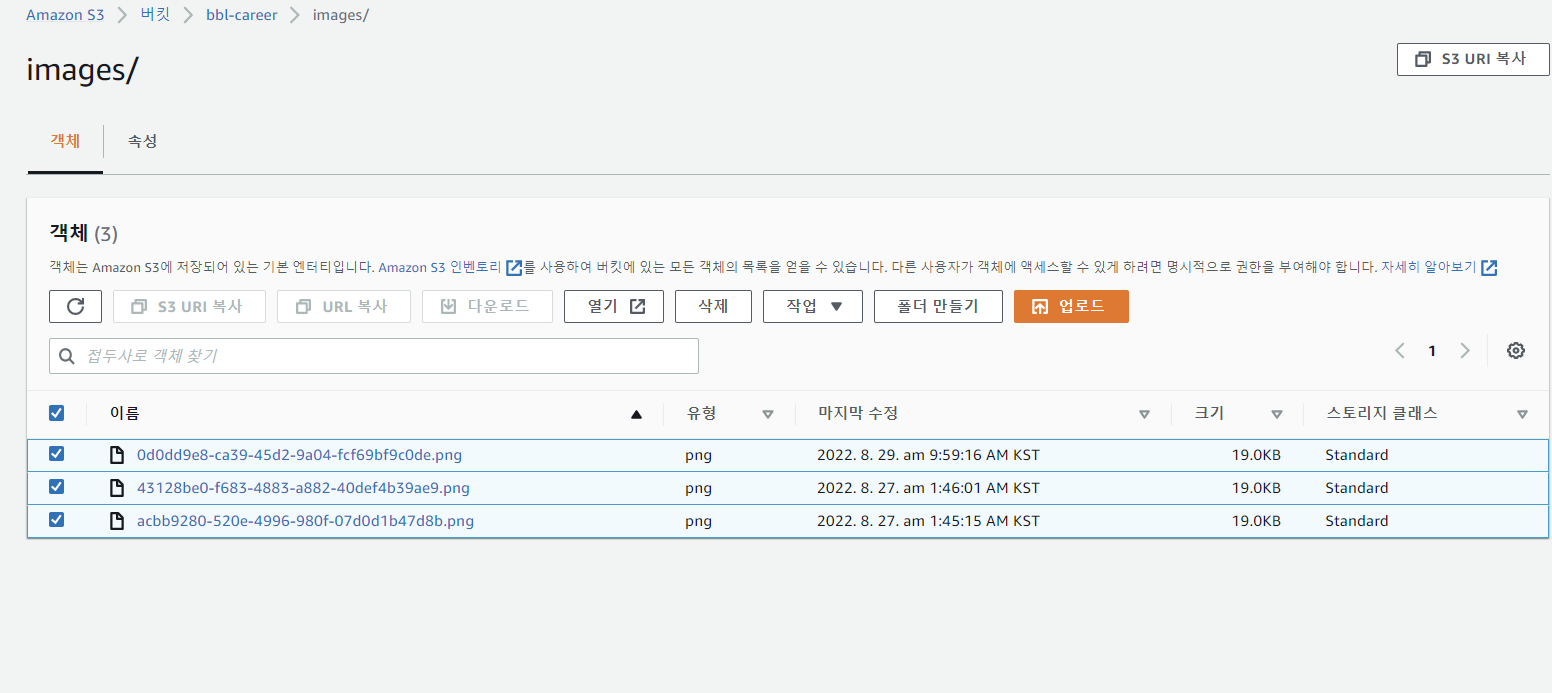
잘 올라갔다!